

How to Choose the Right Coordinate Measuring Machine for Your Precision Needs
2026-11-18
A better coordinate measuring machine isn’t always the one with the longest list of specifications. It’s the one that aligns with your tolerance requirements, part geometry, inspection volume, and the realities of your shop floor. That distinction is easy to miss when every datasheet promises sub-micron accuracy. This guide cuts through the noise and walks through the selection factors that genuinely affect day-to-day measurement reliability. Whether you're replacing an older system or buying your first CMM, the choices you make now will shape your quality data for years. And when precision has to be repeatable, more teams are turning to JATEN for equipment that fits the application rather than forcing the application to fit the machine.
Pin Down the Tightest Tolerance Your Parts Actually Demand
Most drawings get tighter every time someone gets burned by a loose fit, until the whole part is speckled with ±0.001 in. where ±0.005 in. would have done the job. That kind of blanket tightening doesn't make a design more robust; it quietly drives up price, lead time, and scrap rates. The real question is not how tight you can make it, but how much variation the function will tolerate before the assembly complains.
Start from the mating condition. A bore that only has to clear a locating pin doesn't need the same band as a bearing seat that carries load and controls runout. Walk through each feature and note what happens at the extreme of the tolerance: does it bind, leak, vibrate, misalign, or just look slightly different? If the part still works at the wide end, that's your starting point, not a number copied from a similar-looking part.
Then check what your shop or supplier can actually hold without moving to a slower process. A turned diameter can often be pinned to a couple tenths without drama, but a deep milled pocket might wander more just from tool pressure. Let the measurement method set the floor too; if you can't verify it reliably on the shop floor, the tight number is just wishful thinking on paper. Spending tolerance only where the assembly truly needs it leaves budget for the few critical features that earn their keep.
Where the Machine Will Live Matters More Than Its Spec Sheet
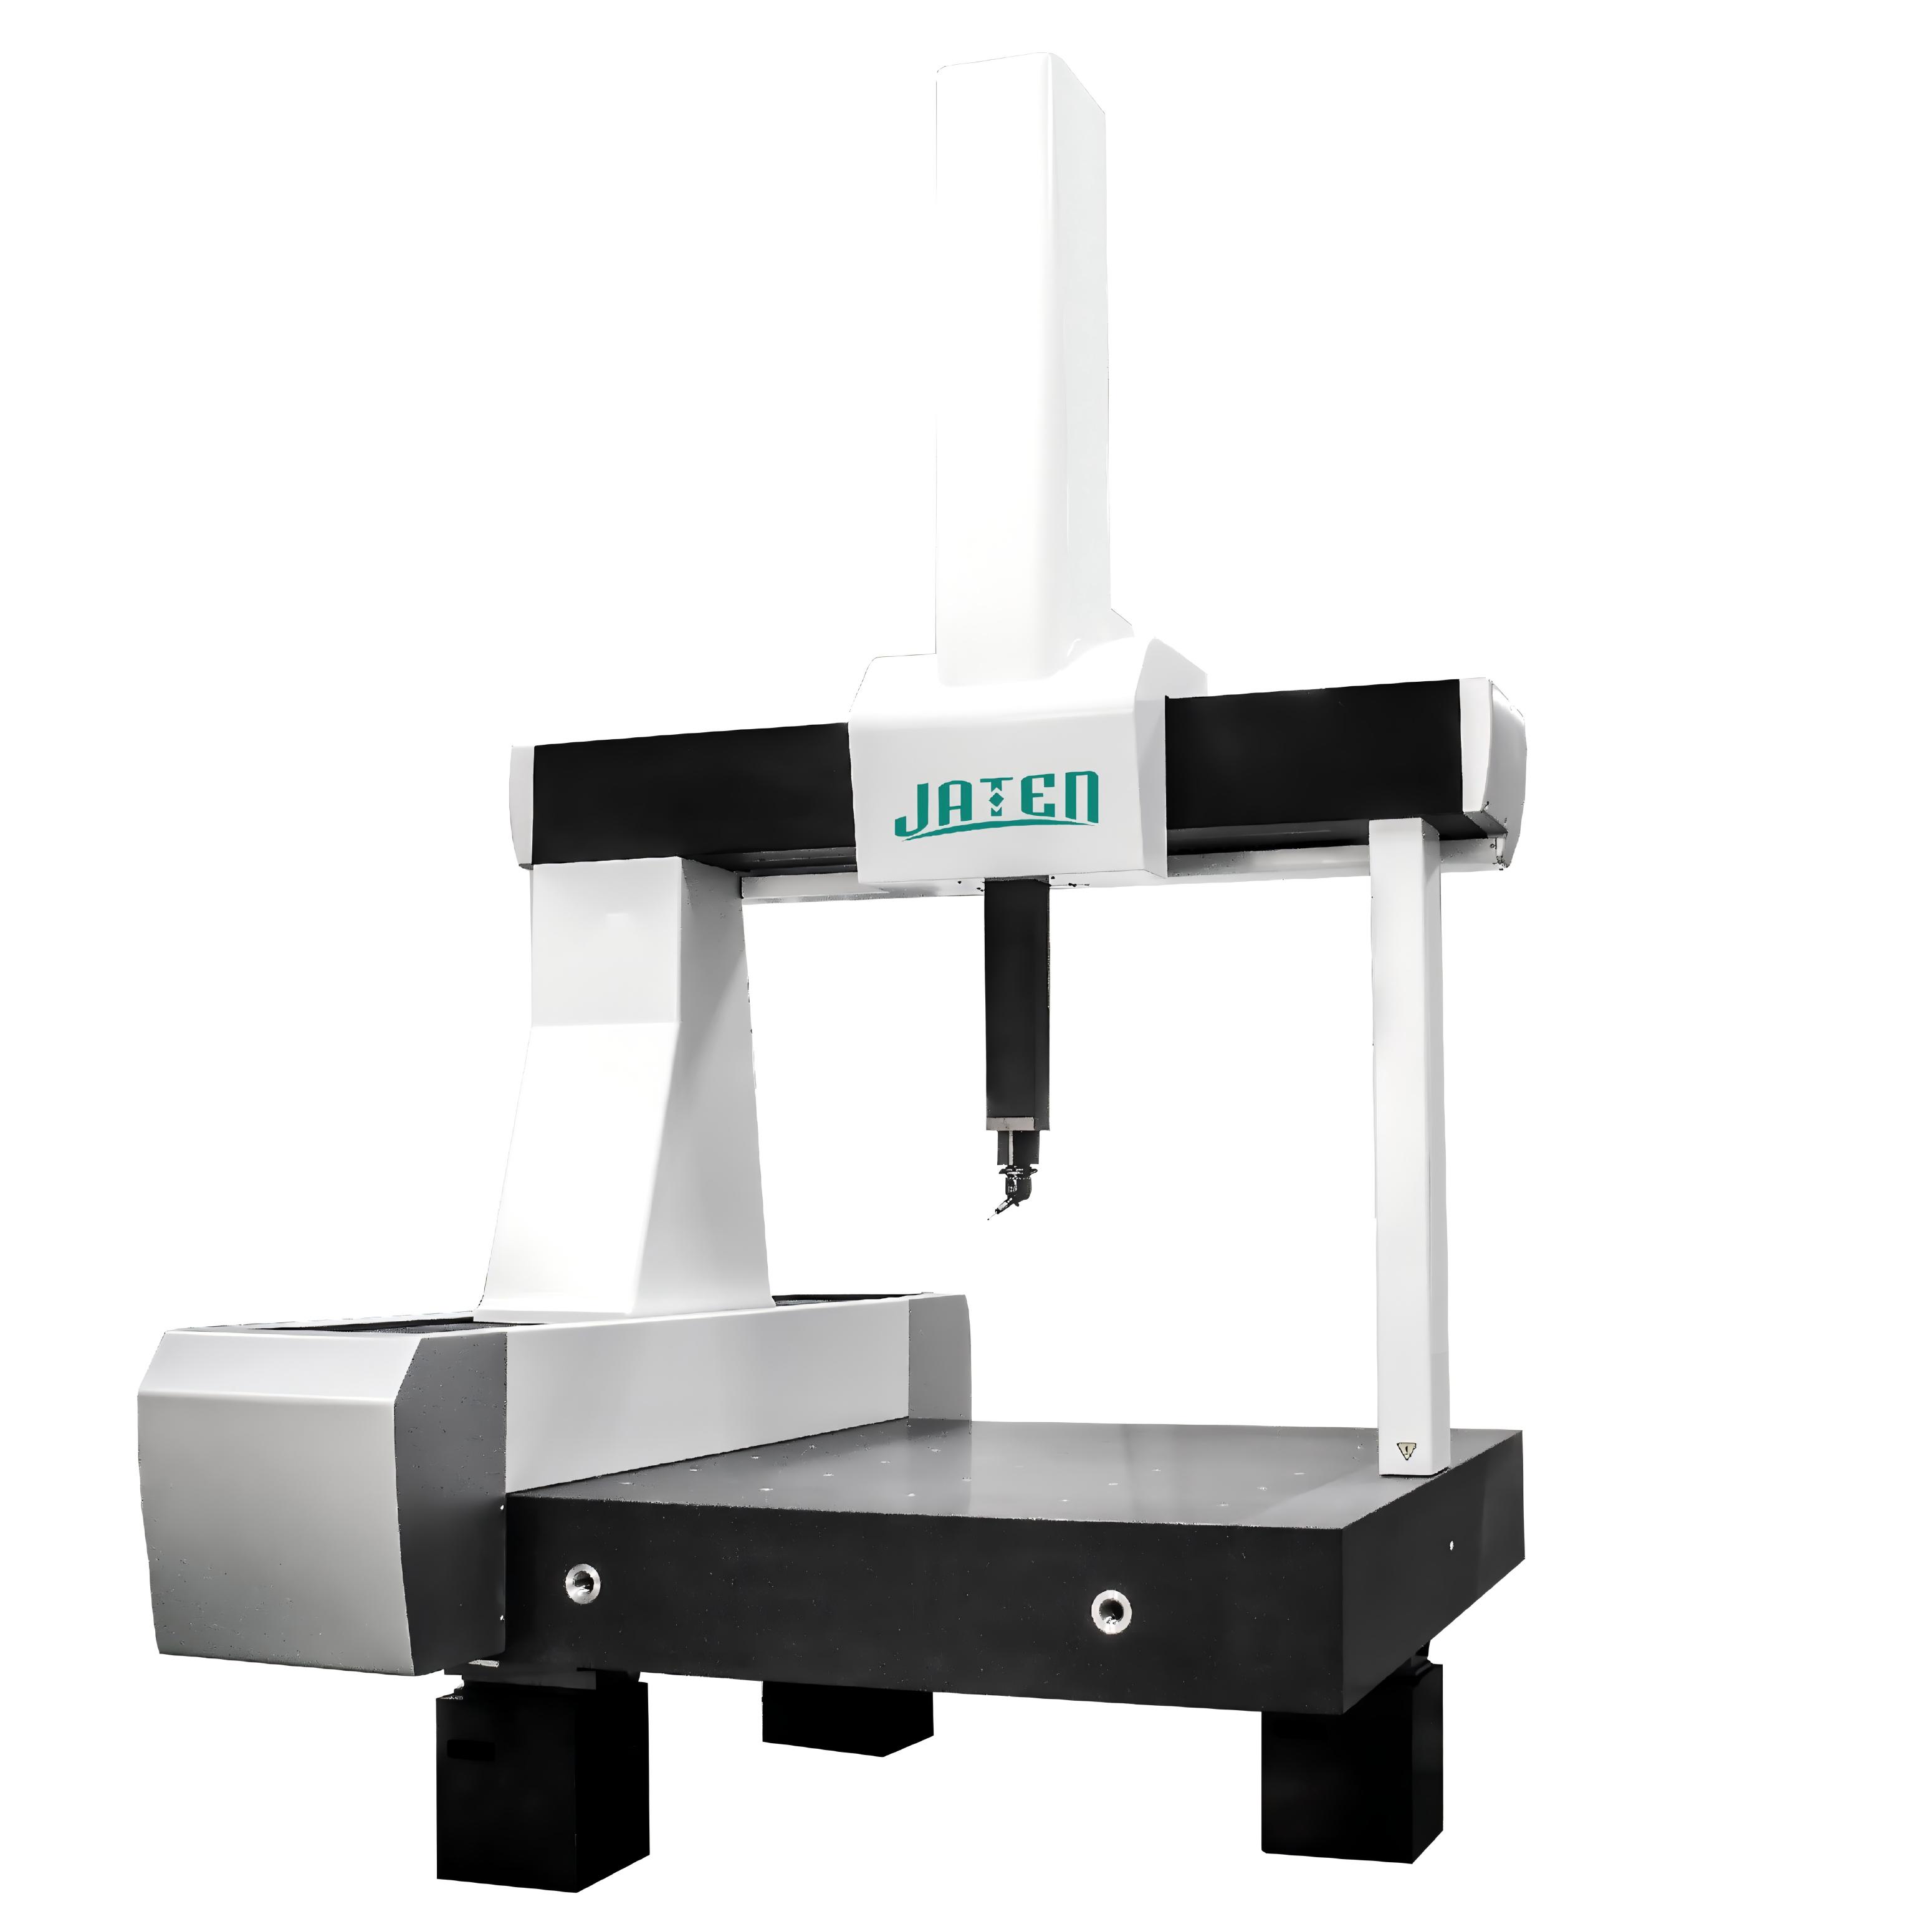
A machine that looks impressive on paper can become a daily frustration once it is placed in the wrong room. Dust, humidity, temperature swings, vibration from nearby equipment, and even how people move around it will shape performance far more than the numbers printed in a brochure.
Before adding another option to the quote, walk the actual floor where the unit is meant to sit. Check power access, ceiling height, material flow, waste removal, lighting over the control panel, and whether the service side is actually reachable. Those details decide uptime before the first cycle starts.
In many facilities, the most troublesome asset is not the one with the lowest specification but the one forced into a corner that was never designed for it. Give placement the same attention as the purchase, and the spec sheet becomes a starting point instead of a promised outcome.
Probe Choice Changes What You Can Actually Measure
A probe is closer to a lens than a wire. It loads the circuit, filters the signal, and shapes whatever you think you are observing. A 1x probe may look like the honest option, but its input capacitance can round off fast edges and hide details that a 10x probe would reveal—even though the 10x setting also costs you amplitude and forces the scope to work harder on small signals.
That tradeoff repeats itself with grounding, bandwidth, and probe architecture. A long ground lead can add ringing that never existed in the circuit, while a short spring ground can make a real overshoot visible. Differential probes remove common-mode noise but blunt fine timing detail, and current probes translate magnetic fields into voltage while adding their own insertion loss. Each choice shifts which part of the signal becomes legible.
In practice, a waveform is not a pure recording of circuit behavior. It is a record of how a particular probe interacted with that circuit. When a signal changes after you swap probes, the new trace may be exposing something the old probe buried—or introducing an artifact the old probe ignored. Matching the probe to the signal parameter you care about is the only way to make the number meaningful.
A Clunky Software Workflow Will Cost You Every Shift
Every shift has a rhythm. When your software forces you to jump between three different screens just to log a single task, that rhythm breaks. The extra clicks add up quietly—thirty seconds here, a minute there—until the last two hours of your day are spent untangling data instead of making decisions.
A clunky workflow doesn't just slow you down. It changes how you think. You start avoiding the system, keeping notes on paper or in your head, because the official route feels like wading through mud. By the time the handover comes, details have drifted, and the next person inherits a mess they didn't create.
The real cost shows up in the moments that matter. When a machine goes down or a customer needs an answer, the software should be invisible. If you're still hunting for the right button, you've already paid for that delay—not in dollars, but in lost trust and missed chances.
Look Past Accuracy Claims to Everyday Repeatability
Accuracy figures in a spec sheet are often captured under conditions that rarely resemble a busy production floor or a field site with shifting temperatures. What matters more day to day is whether the instrument gives you the same reading when you measure the same thing twice, ten minutes apart, without drifting or demanding constant recalibration.
Repeatability shows up in the small routines: checking a reference standard at the start of a shift, seeing the same baseline after lunch, and trusting that a minor variation is real instead of being noise from the device. A tool that claims extremely tight accuracy but wanders between measurements creates more doubt than confidence, no matter how impressive the printed numbers look.
It is worth asking how a device behaves after a month of regular handling, not just how it performs in a controlled demonstration. When readings stay consistent across days, users spend less time second-guessing results and more time acting on them.
Think Through Service and Calibration Before You Buy
A spec sheet rarely tells you what happens six months after installation. Some devices hold their accuracy for years, while others drift enough to quietly affect readings. Ask the supplier how often calibration is actually needed, what it costs, and whether it can be done locally or has to be shipped back.
Service support is another part that gets overlooked until something stops working. Look for a clear response path, realistic turnaround times, and spare part availability. If every issue means waiting weeks for an overseas repair, that low purchase price starts to look less useful.
Dig into the calibration report too. A trustworthy provider should be able to explain what was checked, under what conditions, and whether the unit left their facility within tolerance. That kind of detail usually tells you more about long-term reliability than the headline accuracy number.
FAQ
Start from the tightest feature you actually measure, not the tightest number on the drawing. If your real work stays above plus or minus 0.0005 inch, many mid range machines will do fine. Reserve the expensive ultra precision models for sub micron or gage calibration work, and put the saved money into better fixturing and climate control.
Match the machine to the part and the room. A bridge CMM covers most prismatic parts and offers the best accuracy per dollar in a lab. A gantry is for large, heavy workpieces and open measurement volume. A horizontal arm suits sheet metal, car body panels, or long thin parts where you need side access. A portable arm trades some accuracy for flexibility on the shop floor or at the machine.
They are useful but they are lab numbers. The quoted values assume a stable temperature, clean air, and a calibrated stylus system. On a real shop floor, thermal drift and dirt often matter more than the last micron in the datasheet. Ask the builder for a repeatability test with your own part before you trust the numbers.
Choose scanning when you need form and profile data, high point density, or quick measurement of complex curved surfaces. Touch trigger remains cheaper, easier to program for basic prismatic features, and often more robust in rough environments. If you only check hole positions and flatness, scanning may be an unnecessary expense.
Software licenses, annual calibration, stylus kits, air dryers, climate control improvements, training, and application support can add 20 to 40 percent to the initial price. Before signing, ask for a turnkey quote that includes a real sample program on one of your parts, not just the standard demo.
A shop floor machine is practical only if you control temperature swings, vibration, and airborne oil mist. Some CMMs are designed with covers, scales, and materials that cope better with these conditions, but they still need regular verification. If the environment varies more than a few degrees, you will likely lose more in measurement uncertainty than you gain in convenience.
Bring one of your own parts, preferably with a tight tolerance and a hard-to-reach feature. Watch the programmer build the alignment and probe paths, then run the program three times without changing the setup. Check that the repeatability number matches your requirements, and ask how the machine behaves after a weekend shutdown and restart.
Conclusion
Most CMM purchases go wrong before the quote is ever signed because the buyer focuses on headline specs instead of the parts sitting on the bench. Start by pulling the actual tolerance band from your tightest drawing, not the theoretical accuracy you might want five years from now; a machine that holds a few microns in a clean lab can drift noticeably on a shop floor with temperature swings, dust, and vibration. That is why the installation site deserves as much attention as the granite and air bearings. Put the CMM where the thermal environment is stable, or budget for enclosures and monitoring from day one. Probe selection is equally easy to overlook. A fixed touch-trigger probe will struggle with small holes, deep features, or flexible surfaces, while a scanning head or vision sensor may be the only practical way to capture the geometry you truly need. Match the probe to the feature size and surface type, not just to the machine catalog.
Software is the daily interface, and a clunky workflow quietly drains inspection time on every shift. Before buying, have an operator run a real part from import to report using your existing CAD data; if alignment, probe path creation, or exception handling feels awkward, that friction will repeat for years. Also push past glossy accuracy claims and ask for a repeatability study on a part like yours, measured multiple times across different shifts and thermal conditions. A machine that repeats well on your actual workpiece is worth more than a low uncertainty number from a manufacturer's ideal setup. Finally, treat service and calibration as part of the purchase, not an afterthought. Know who responds locally, how quickly they can source parts, and whether you can maintain the calibration schedule without shutting down for weeks. These practical factors usually determine long-term value more than any spec sheet comparison.
Contact Us
Contact Person: Volien
Email: [email protected]
Tel/WhatsApp: +86 18029161762
Website: https://www.jatentech.com/